Kittenblock本地IoT服务器–温度推送
上节,我们已经学习了IOT的消息推送,本节我们结合硬件,把检测到的物理量温度,推送到IOT中。这样的IOT才具有实际的意义,IOT中的温度推送是很常见的,包括气象站的,智能大棚种植等等,都运用的IOT的温度推送。
本节实验器材清单:
能量魔块主控盒
能量魔块电池盒
能量魔块温湿度魔块
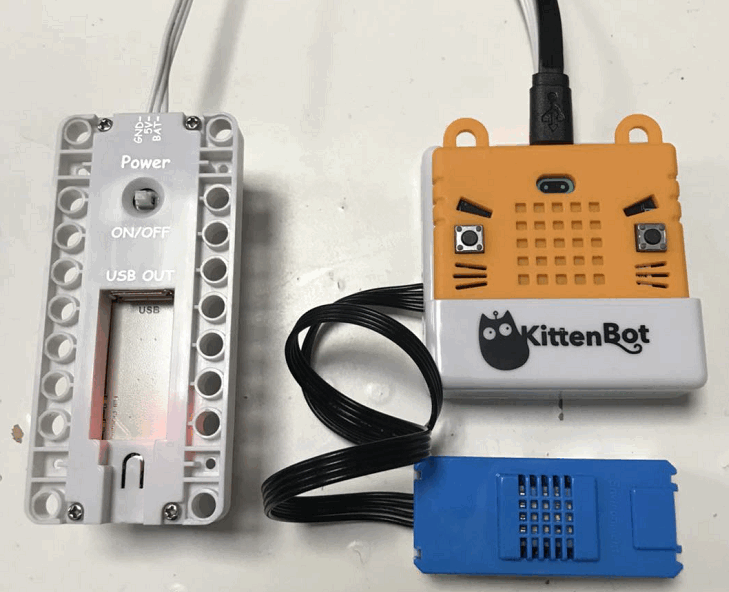
连接能量魔块恢复固件
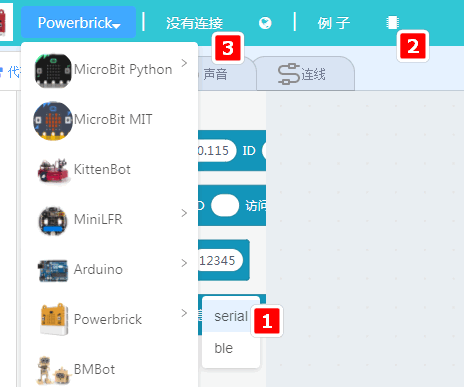
将能量魔块按上图插接好后(温湿度魔块连接在Port2口上),首先进行固件恢复,再进行串口连接
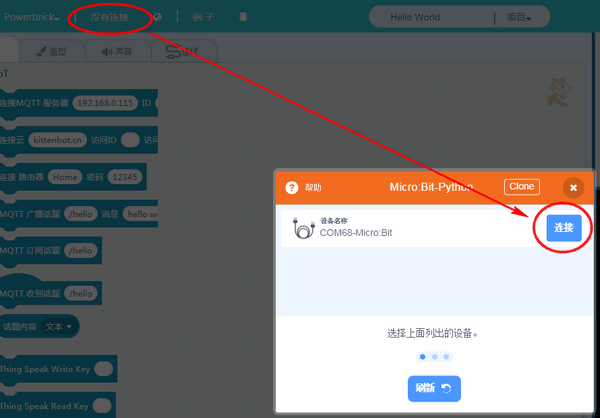
通讯连接测试
我们可以尝试点击Microbit对应的点阵积木块,看下实物是否有反应,如果实物有反应则表示通讯已经建立起来。
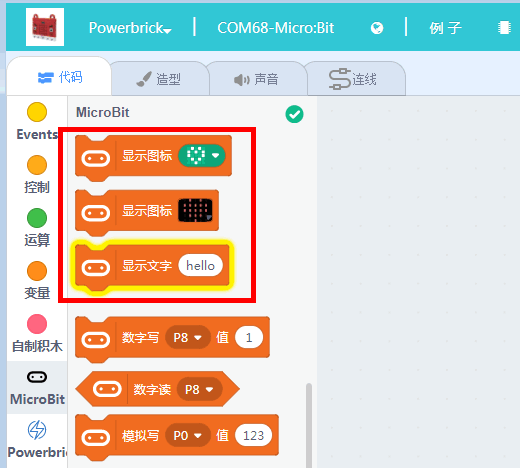
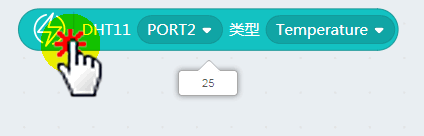
温湿度魔块温度读取
点击温湿度积木块则可以返回,实时温度
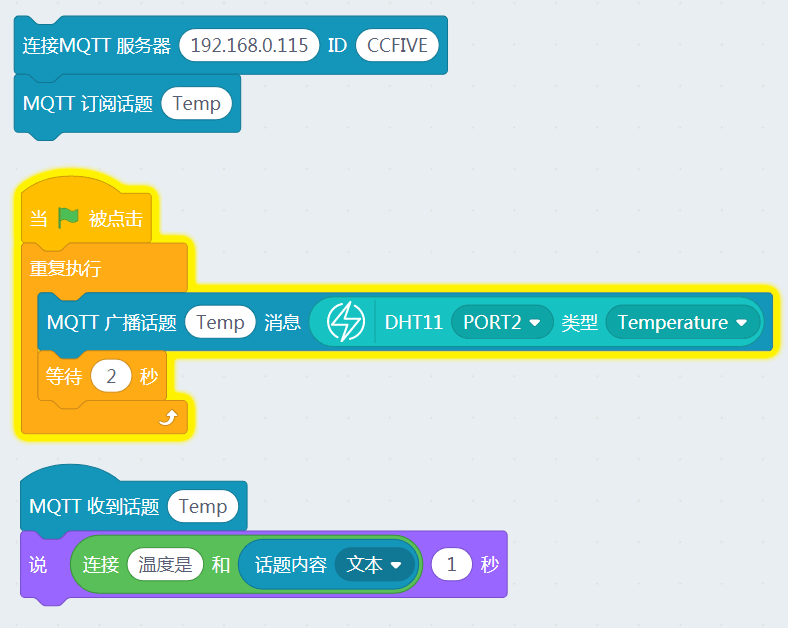
加载IOT插件并编写程序
IOT服务器的开启,请看上节的详细介绍,这里不再演示了。
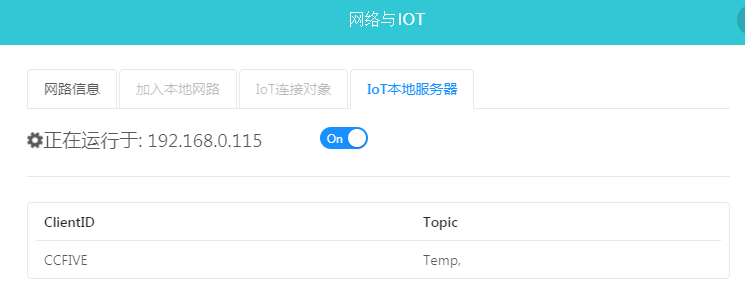
打开网络与IOT,从IOT本地服务器列表看到,设备已经成功连接,话题也成功注册了。
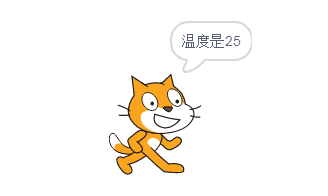
实验结果
可以看到舞台小猫每隔一阵子,就会推送温度值出来。
后记
IOT与环境物理量检测结合就是这么简单,我们只需要替换推送的消息内容即可。